2. Onboarding and prepare gentx
D-Foundation is using Gayadeed to perform KYC, document composition and digital signatures.
There are 3 steps to onboard and prepare the genesis file for the testnet:
- Submit Dchain address for Testnet pre-genesis allocation
- Onboard and Obtain for Verifiable Presentation
- Create and submit genesis transaction and peer id
1. Prepare and Submit Addresses
1. Submit dchain address for Testnet pre-genesis allocation
Build the binary and submit base account address (starts with dchain1) for pre-genesis allocation.
# Go version 1.23.2 is required

git clone --branch v0.4.1 --depth 1 git@repos.gayadeed.it:d-foundation/protocol.git
cd protocol
make build
# or install sudo mv ./dchain /usr/local/bin

# check version to be the below:
dchain version --long

# commit: 54b87f2500aa181ef9f5061cd2dec07f9c4e58d3
# cosmos_sdk_version: v0.0.0-20240820023506-6f2d52be7a55
# go: go version go1.23.2 linux/amd64
# name: dchain
# server_name: dchain
# version: HEAD-54b87f2500aa181ef9f5061cd2dec07f9c4e58d3
2. Prepare Consensus Address to onboard with Gayadeed
Please ensure you have the consensus address for next steps - Onboarding with Gayadeed.
dchain cometbft show-address # shows your validator consensus address starting with `dchainvalcons1`
2. Onboard and obtain Verifiable Presentation
This step completes KYB requirements for testnet and mainnet.
Please ensure you have the following for this step:
- your passport
- company business registration
- all of the significant controllers' identity documents (individuals controlling over > 25% of the company)
- valid phone number to receive SMS
- Consensus Address
Below is an example for Gayadeed Srl to onboard as a testnet validator.
1. Register on Gayadeed
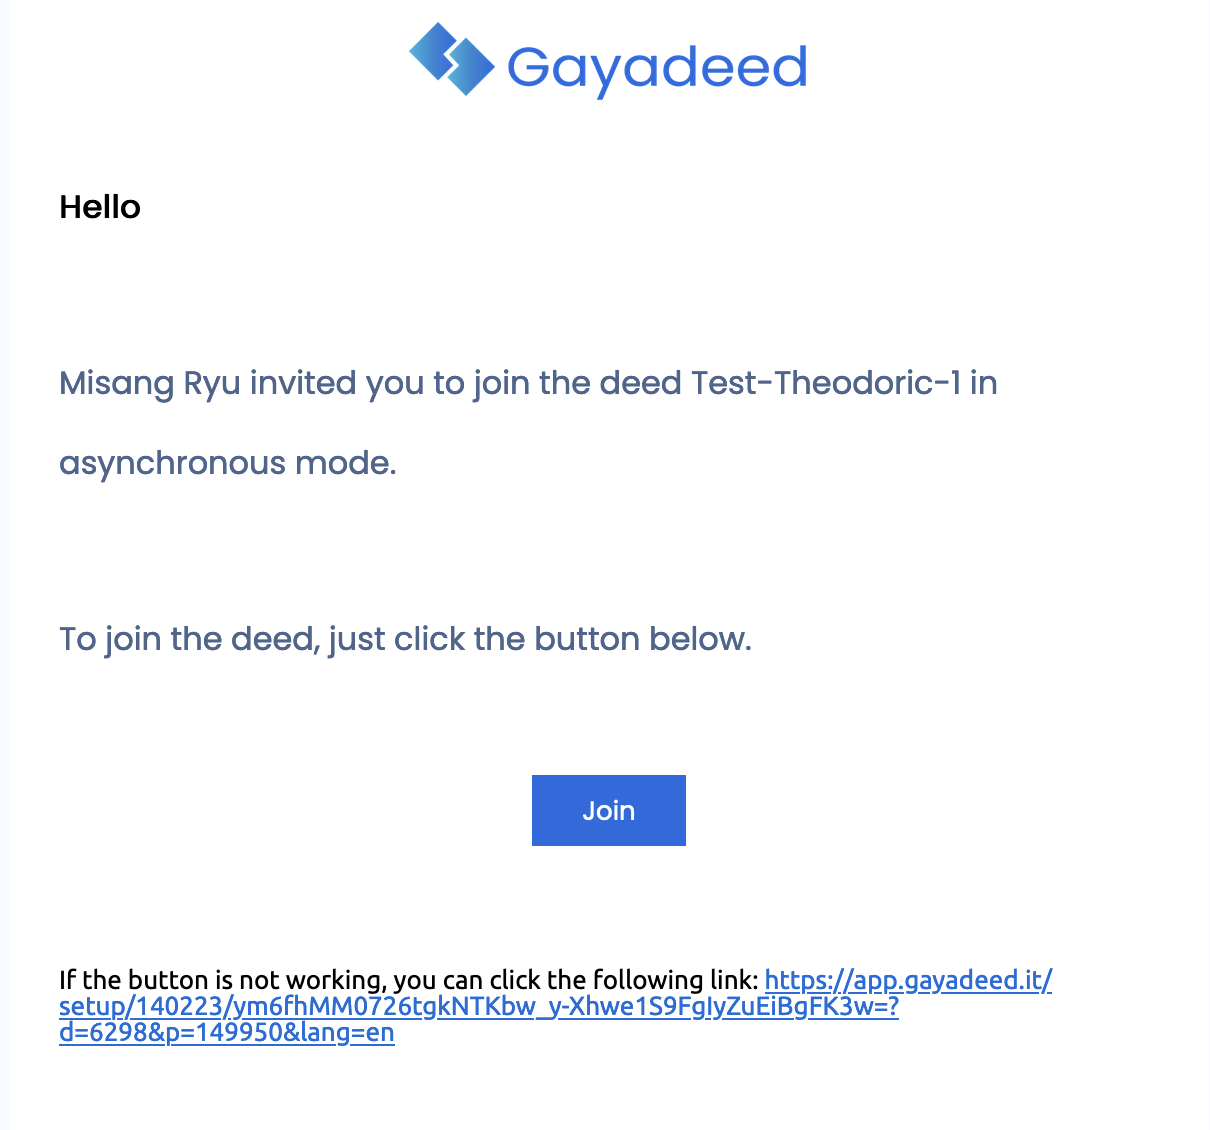
After we have received your base account address, we will invite you to participate in a deed. You will receive an invitation email to setup password and login.
Please select KYX option to proceed.
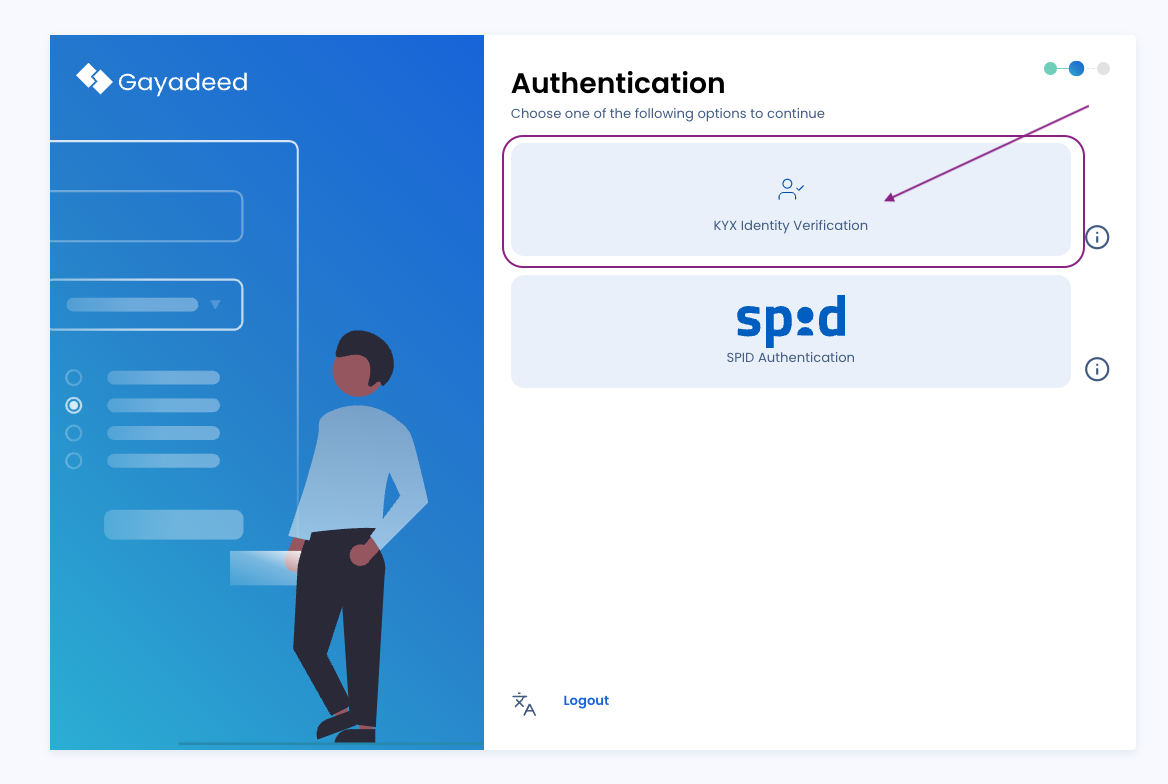
You will be redirected to complete KYX via Jumio, which you can do via mobile.
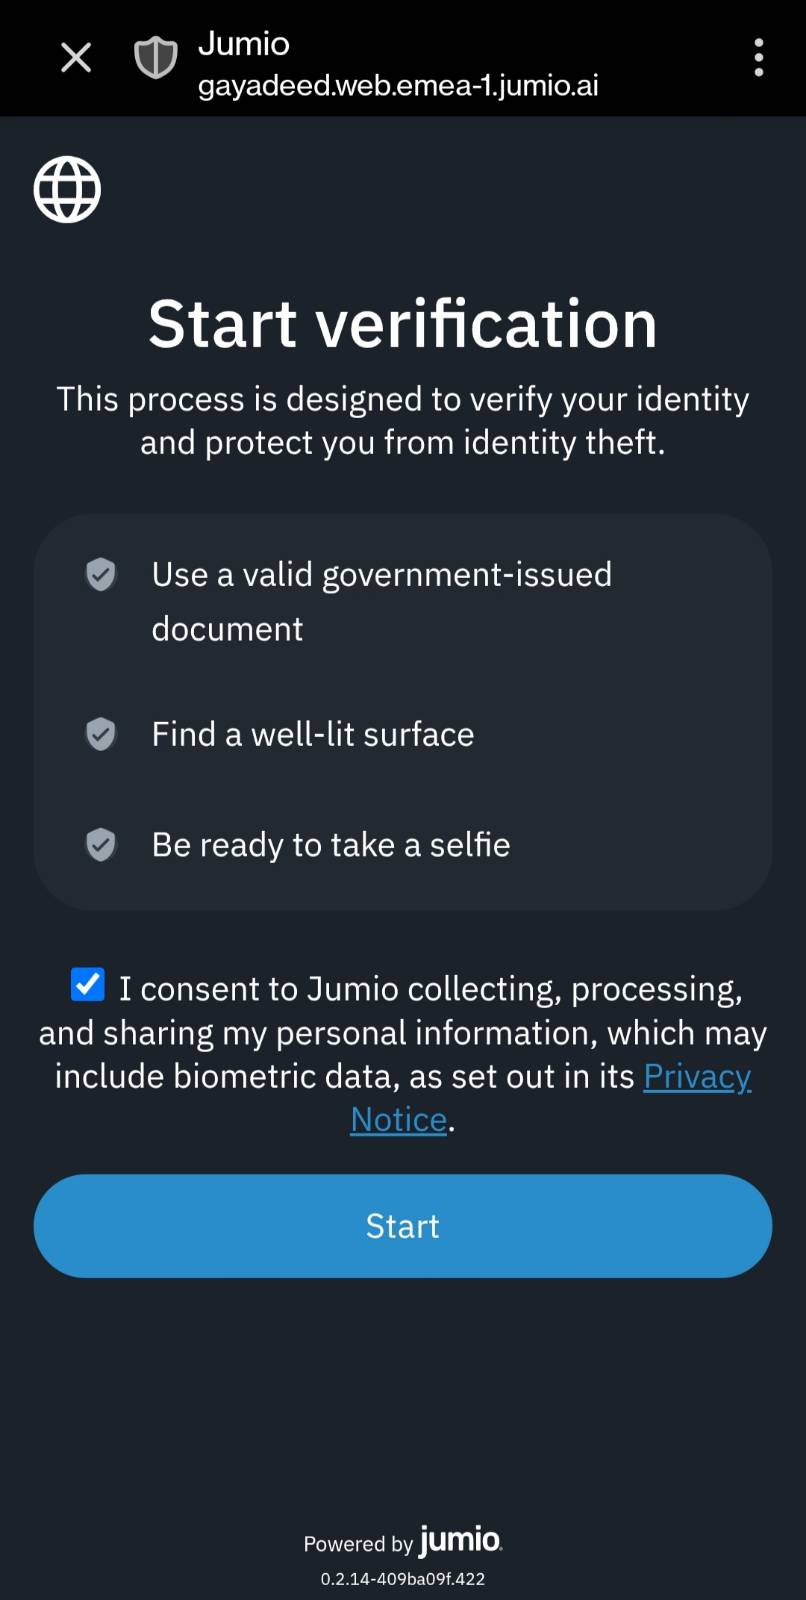
After you have completed the process with Jumio, you will be redirected back to Gayadeed. The final check may take a few minutes and you will be notified via email once it has been completed.
You can refresh the setup page once you have received the email
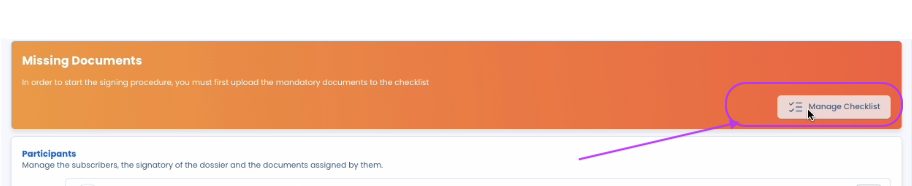
2. Upload & Generate Documents
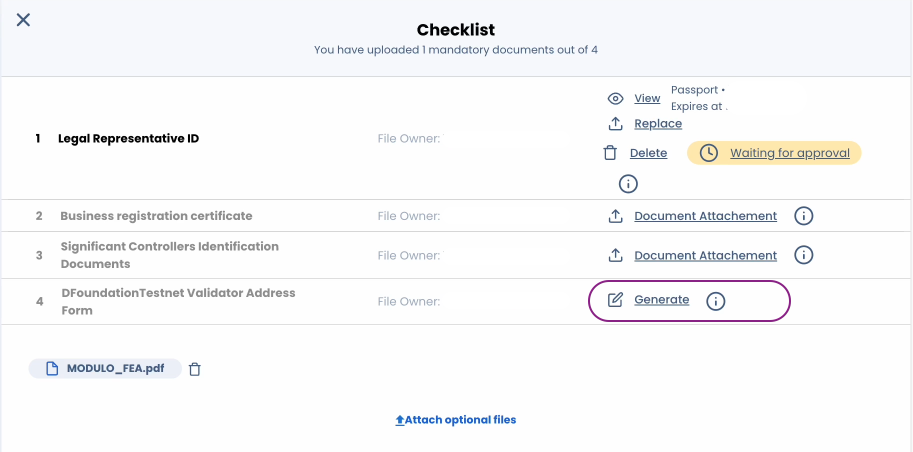
Click Manage Checklist to upload & generate documents for the testnet.
Your KYX information will be auto-populated in the first row.
Click Document Attachments and upload
- Business registration certificate
- Significant controllers identity documents (if there are more than one, please upload the other by clicking Attach optional files)
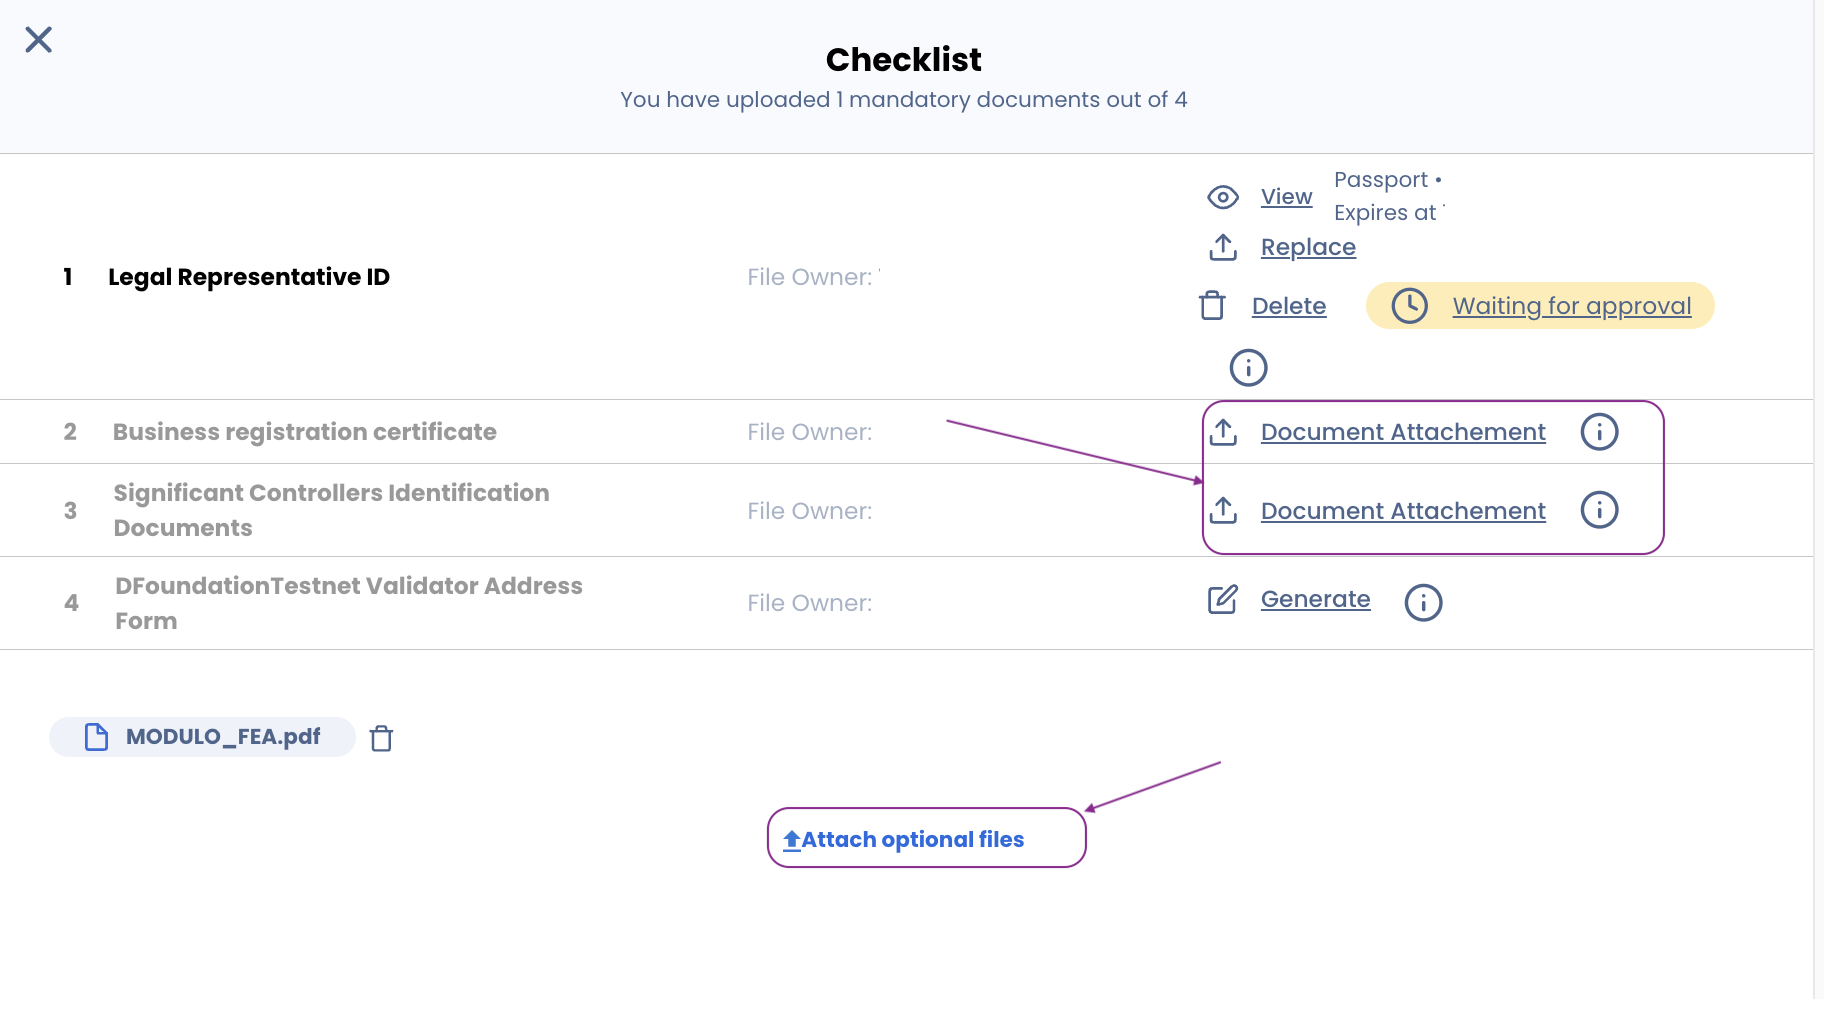
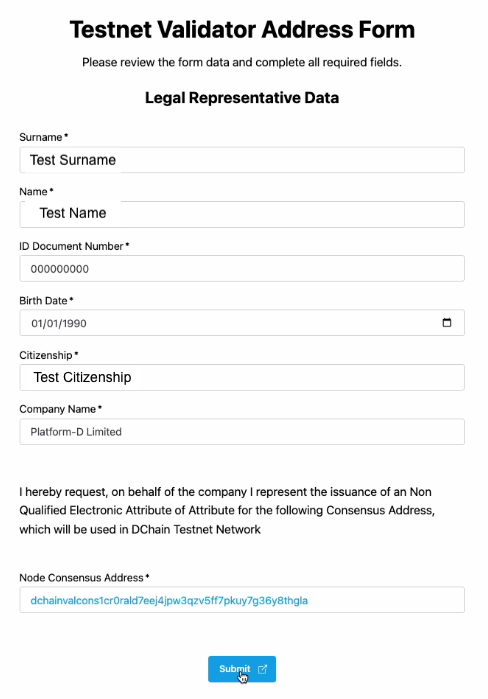
Click Generate to generate a document where you will have to add the consensus address.
The generated form will pre-populate with some of the information you provided during the KYC process. Please add you Company Name and Consensus Address.
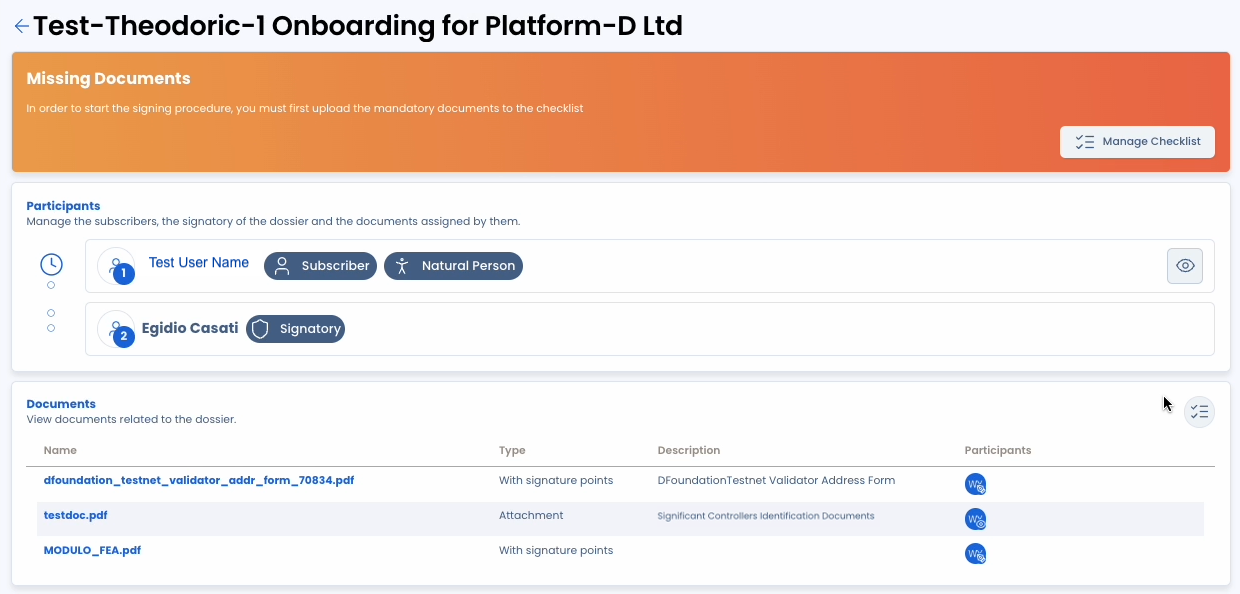
After you have completed the checklist, they will be shown in the Deed section.
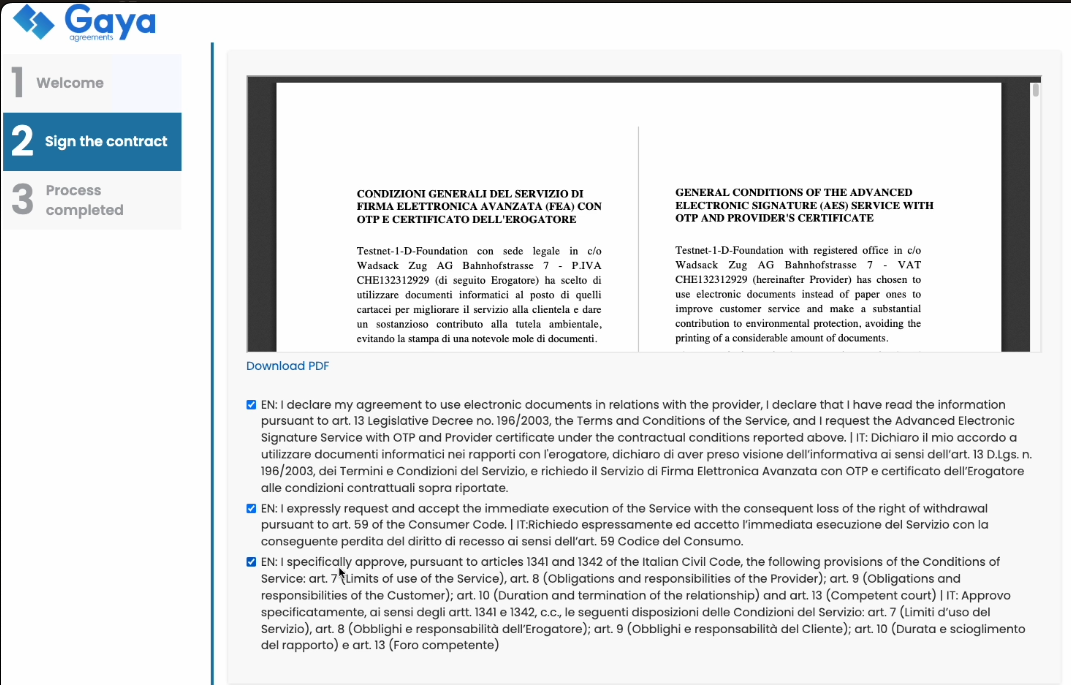
Note: Modulo FEA.pdf is a bilateral agreement required for Advanced Electronic Signatures for first time signers with D-Foundation.
This is the end of this step. You will be notified via email once the documents are ready to be signed via email.
D-Foundation will be informed to approve and start the signature flow
3. Sign Documents and Receive Verifiable Presentation
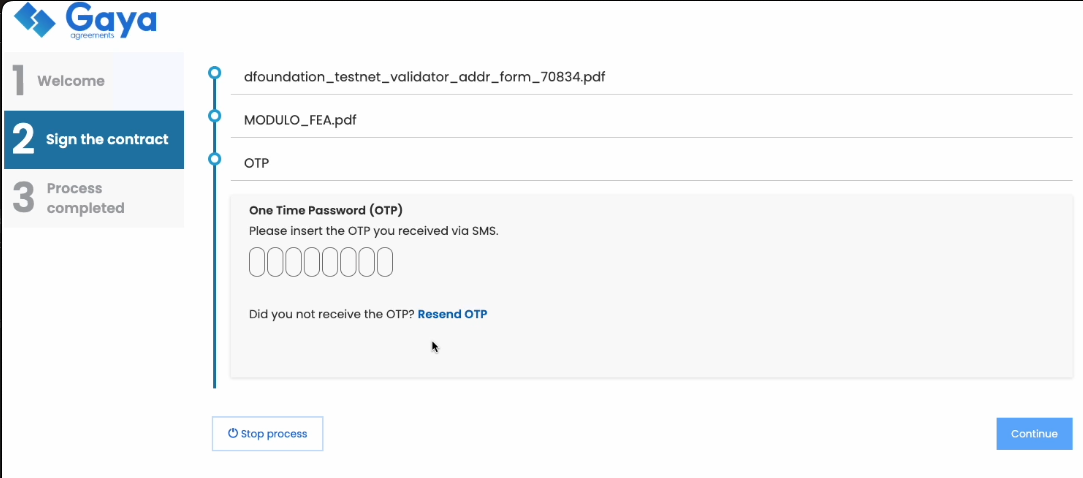
Please ensure you can receive SMS on the provided number for this step
Once documents are checked, you will receive an email to digitally sign the documents.

Please log in and start the document signing process.

This will redirect you to the signature process.
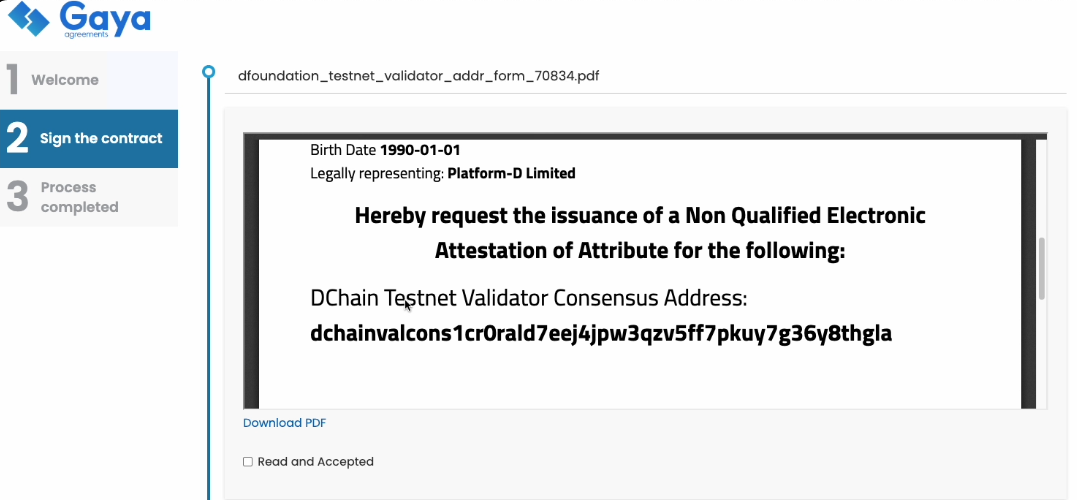
1: You will be asked to sign the previously generated document with the Consensus Address as one of the Electron Attestation of Attributes.
Click Read and Accept to sign the document.
2: You will be asked to sign bilateral agreement required for Advanced Electronic Signatures with D-Foundation if this is your first agreement with D-Foundation.
Click All Three Boxes to sign the document.
3: You will be asked to enter an OTP sent to your mobile number.
4: IMPORTANT! Finally after the process is completed please click Finish
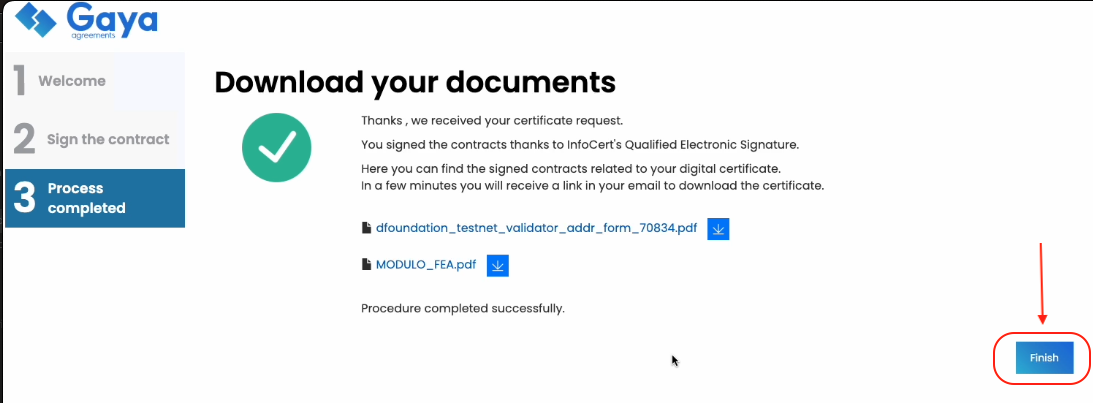
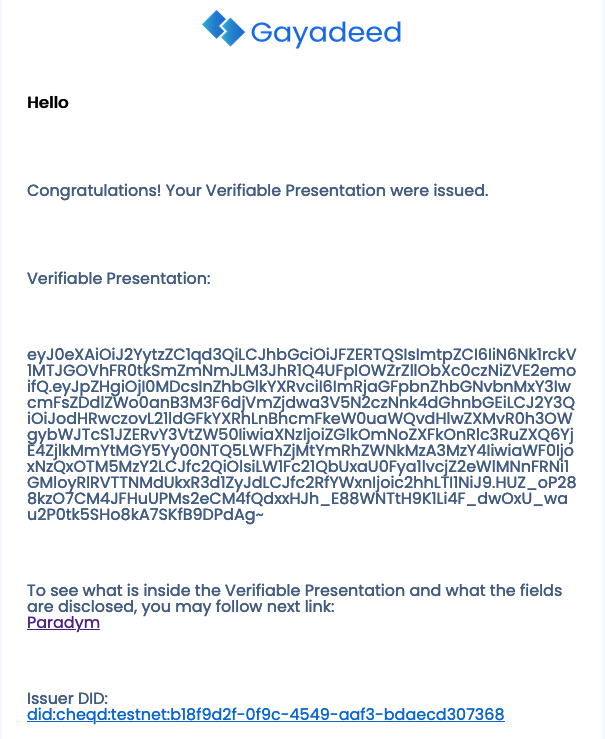
5: Receive signed documents and verifiable presentation for testnet. You will then 2 emails:
- All of the signed documents
- A verifiable presentation to be used for the validator node (see next step).
3. Create and Submit Genesis Transaction and Peer ID
WIP: Todo link pre-genesis once ready
1. Create and Submit Genesis Trasaction
After the pre-genesis file has been prepared, you can now create the genesis transaction.
The pre-genesis file can be found in the D-Foundation Networks repo.
2. Create genesis transaction keys
dchain genesis gentx <key-name> 100000000000000udt \
  --chain-id="test-theodoric-1" \
  --moniker=<moniker>\
  --commission-max-change-rate="0.01" \
  --commission-max-rate="0.1" \
  --commission-rate="0.05" \
  --min-self-delegation="30000000000000" \
  --details="" \
  --security-contact="" \
  --node-id=$(dchain cometbft show-node-id)
which should result in a file written to
Genesis transaction written to "/home/debian/.dchain/config/gentx/gentx-<>.json"
Upload this file to the Networks repo under
testnets/test-theodoric-1/gentx. Please also add peer information to testnets/test-theodoric-1/peers. It should be
in the form of $(dchain comet show-node-id)@<ip>:<port>.